3D Printing
3D printing is a type of additive manufacturing method, meaning objects are manufactured by adding material layers. In a few weeks we will be covering its opposite, CNC machining, which is a subtractive method that manufactures an object by cutting into an already-existing material.
This week's individual assignment was to design and 3D print an object (small, few cm3) that could not be made subtractively. Additionally, we had to 3D scan an object (and optionally print it). For the group assignment the task was to test the design rules for the printers.
Using the Ender 3 Pro
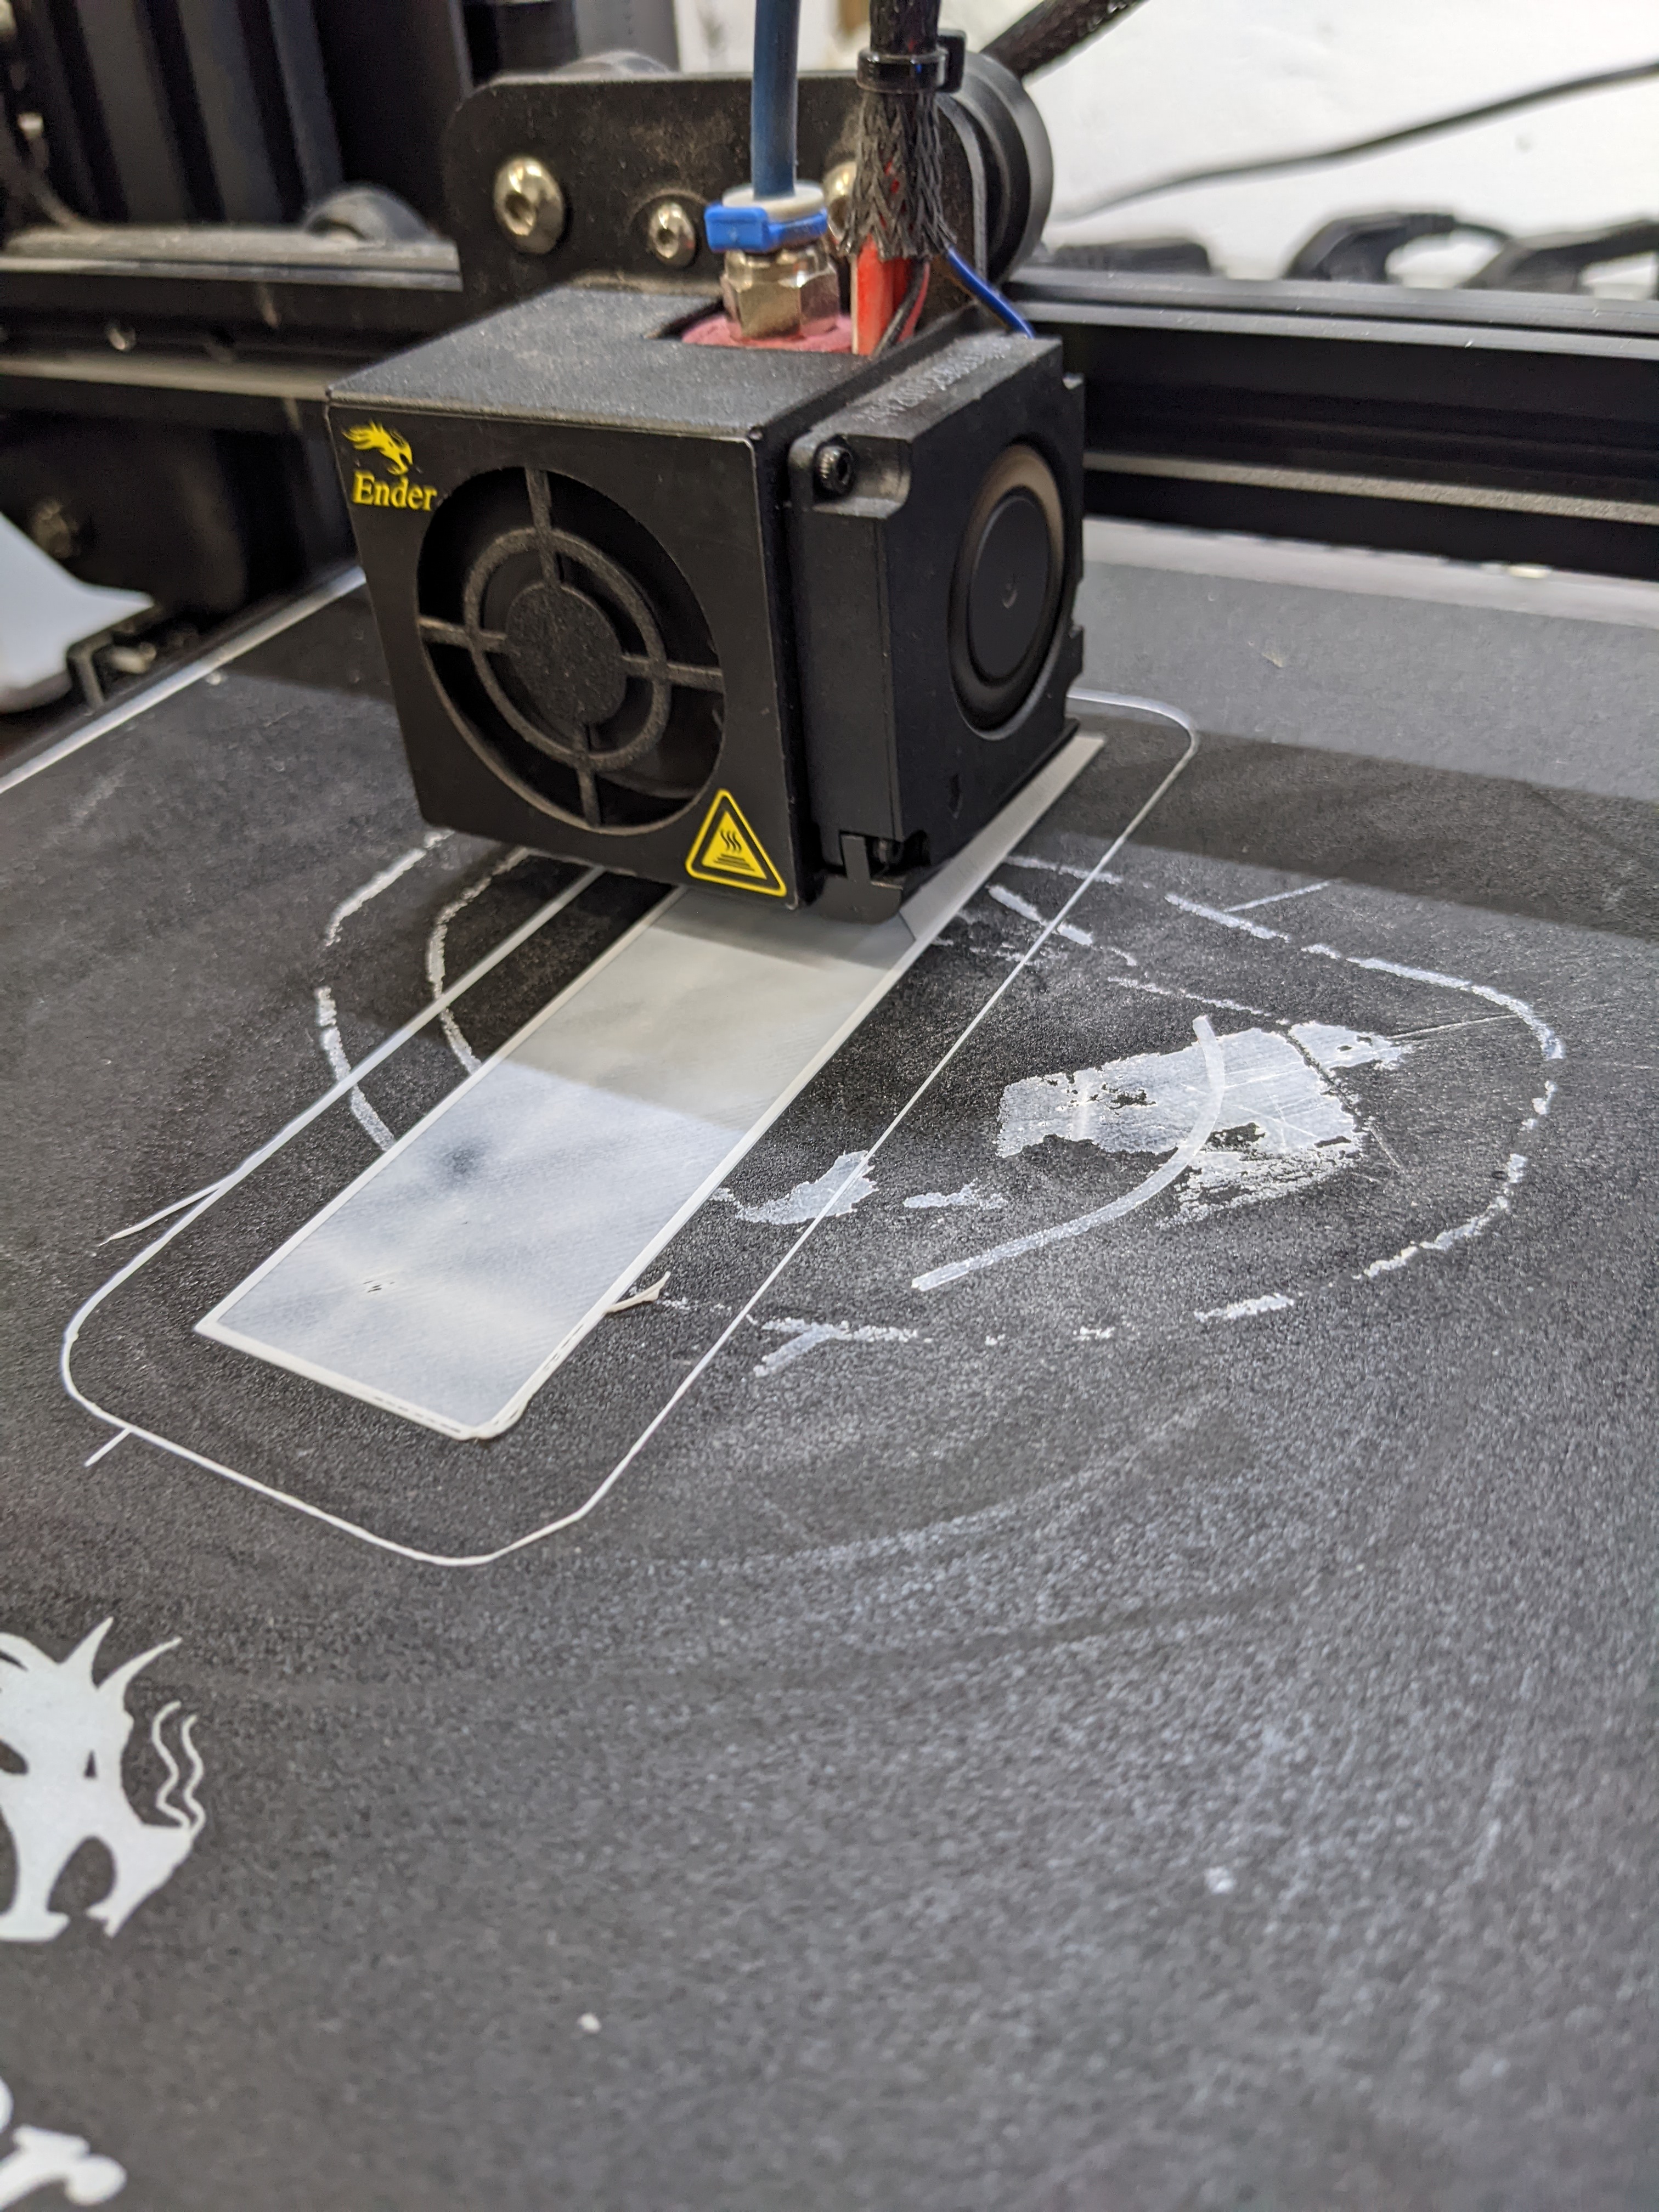
The Ender 3 uses the 3D printing technique FFF (Fused Filament Fabrication), with which layers of melted plastic are placed on top of each other. The Ender uses a bottom-up style of printing. Due to the way the filament is placed on top of each other, complex structures or “overhanging” parts are hard to print. PLA and ABS plastic can be used as materials for 3D printing, although the latter is being phased out due to its toxic fumes.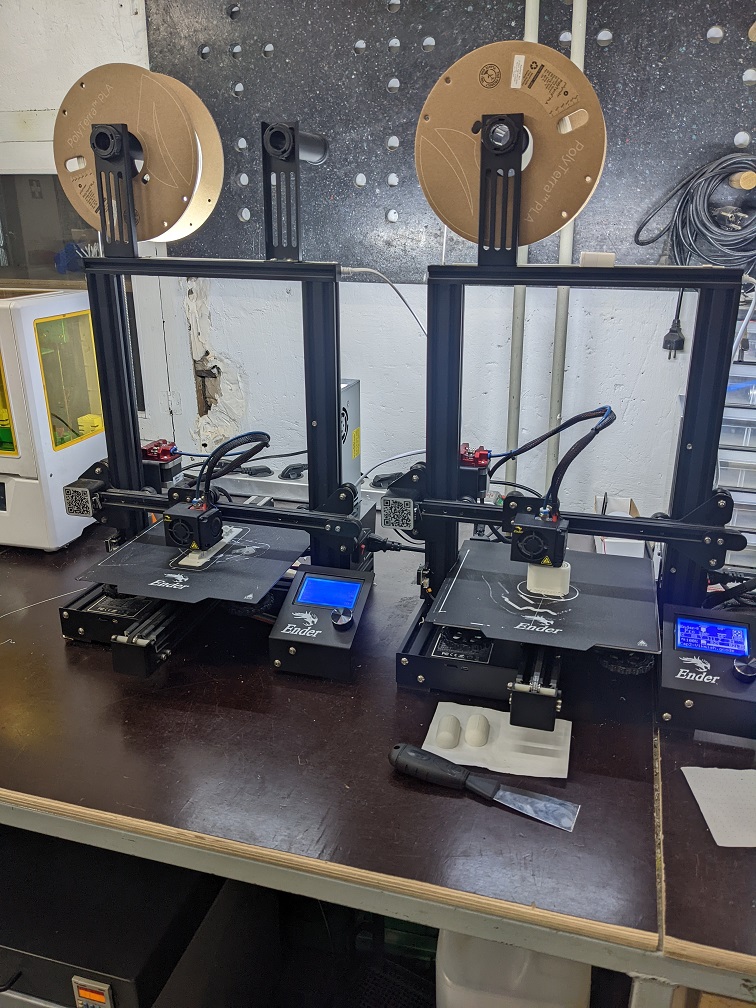
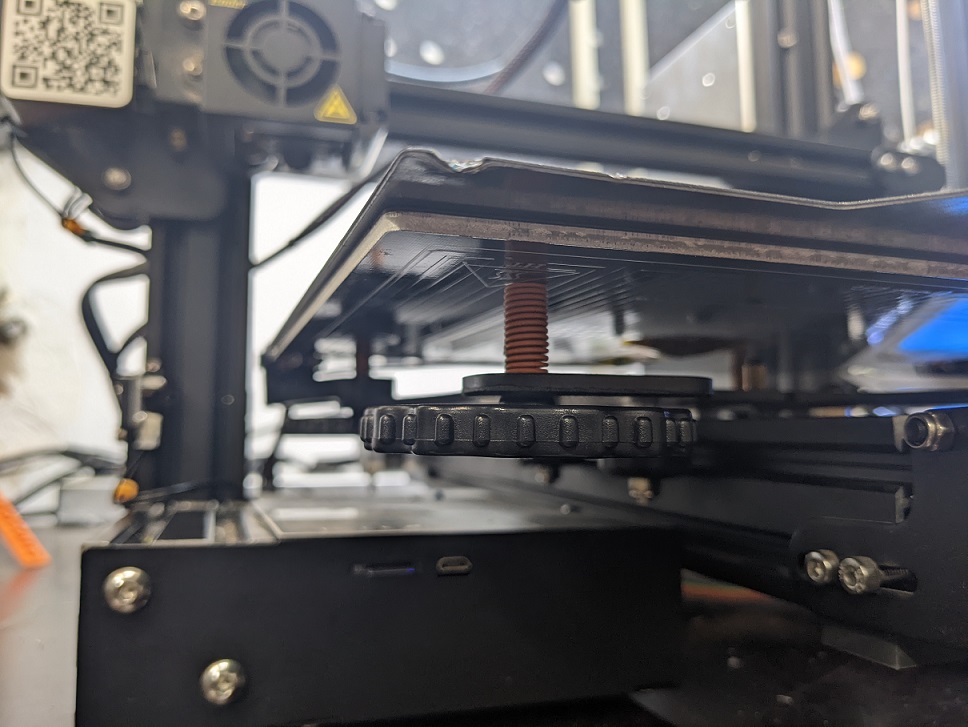
Before we get to print, we must first perform proper setup. Calibrating the bed to the correct height, making sure that the proper filament is placed inside the extrusion, and that the proper temperature is reached in the nozzle. We then insert the USB stick into the machine with the readable 3D Printing file and sent it to construct. A step we sometimes do is release a bit of the heated filament to make sure nothing is clogging up the nozzle before constructing.
The Ender uses Ultimaker Cura, which is an open source 3D printer slicing application. It takes a 3D model and slices it into layers to create the G-Code, which is the code that a 3D printer understands. Cura recognizes .STL, .OBJ, .DAE and .AMF file.
Weekly task
For our weekly task this week, we must 3D print an object we have modelled that could only be made with Additive manufacturing techniques. These techniques include:
- Print by slicing with the standard 3d printers
- Robotic plastic extrusion system
- Paste extrusion (clay recommended) on the delta 3d printer
- The big experimental machine on the electronic labs
I decided to use a standard slicing 3d printer.
Modelling
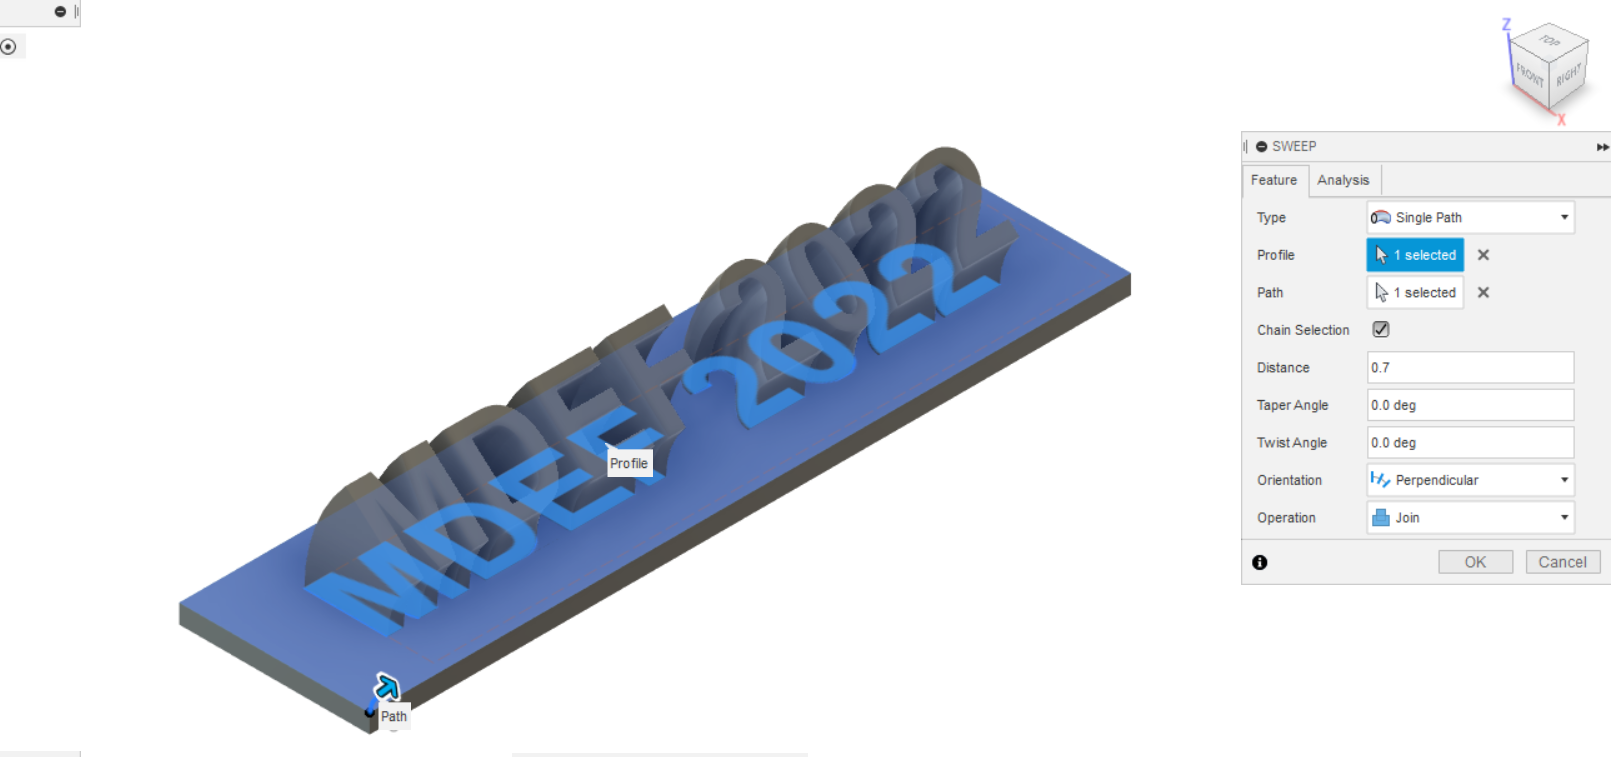
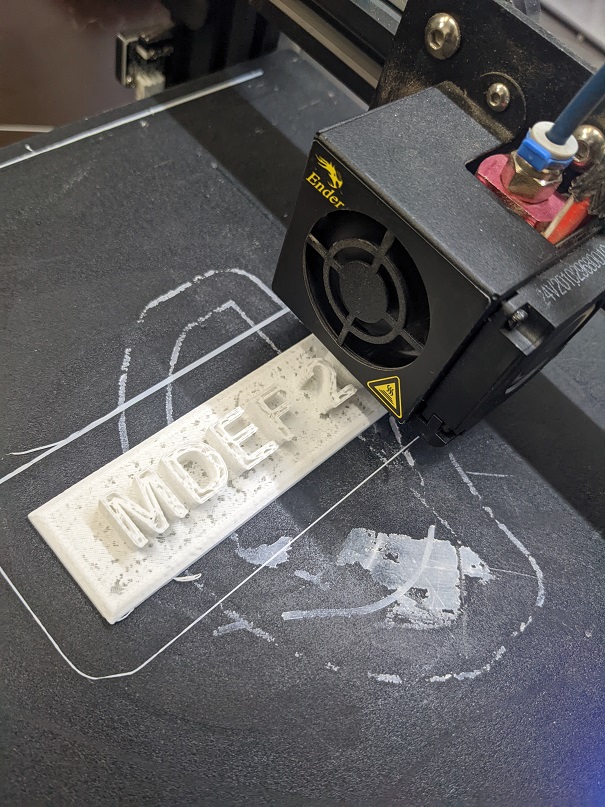
Since our instructions included making a small 3D printed object (cannot be bigger than 70x70x70mm or take more than 3 hours) I decided to make something that wasn't overly complicated but had some standard complexity to it. I did a nameplate on Fusion 360 for our MDEF 2022 class.
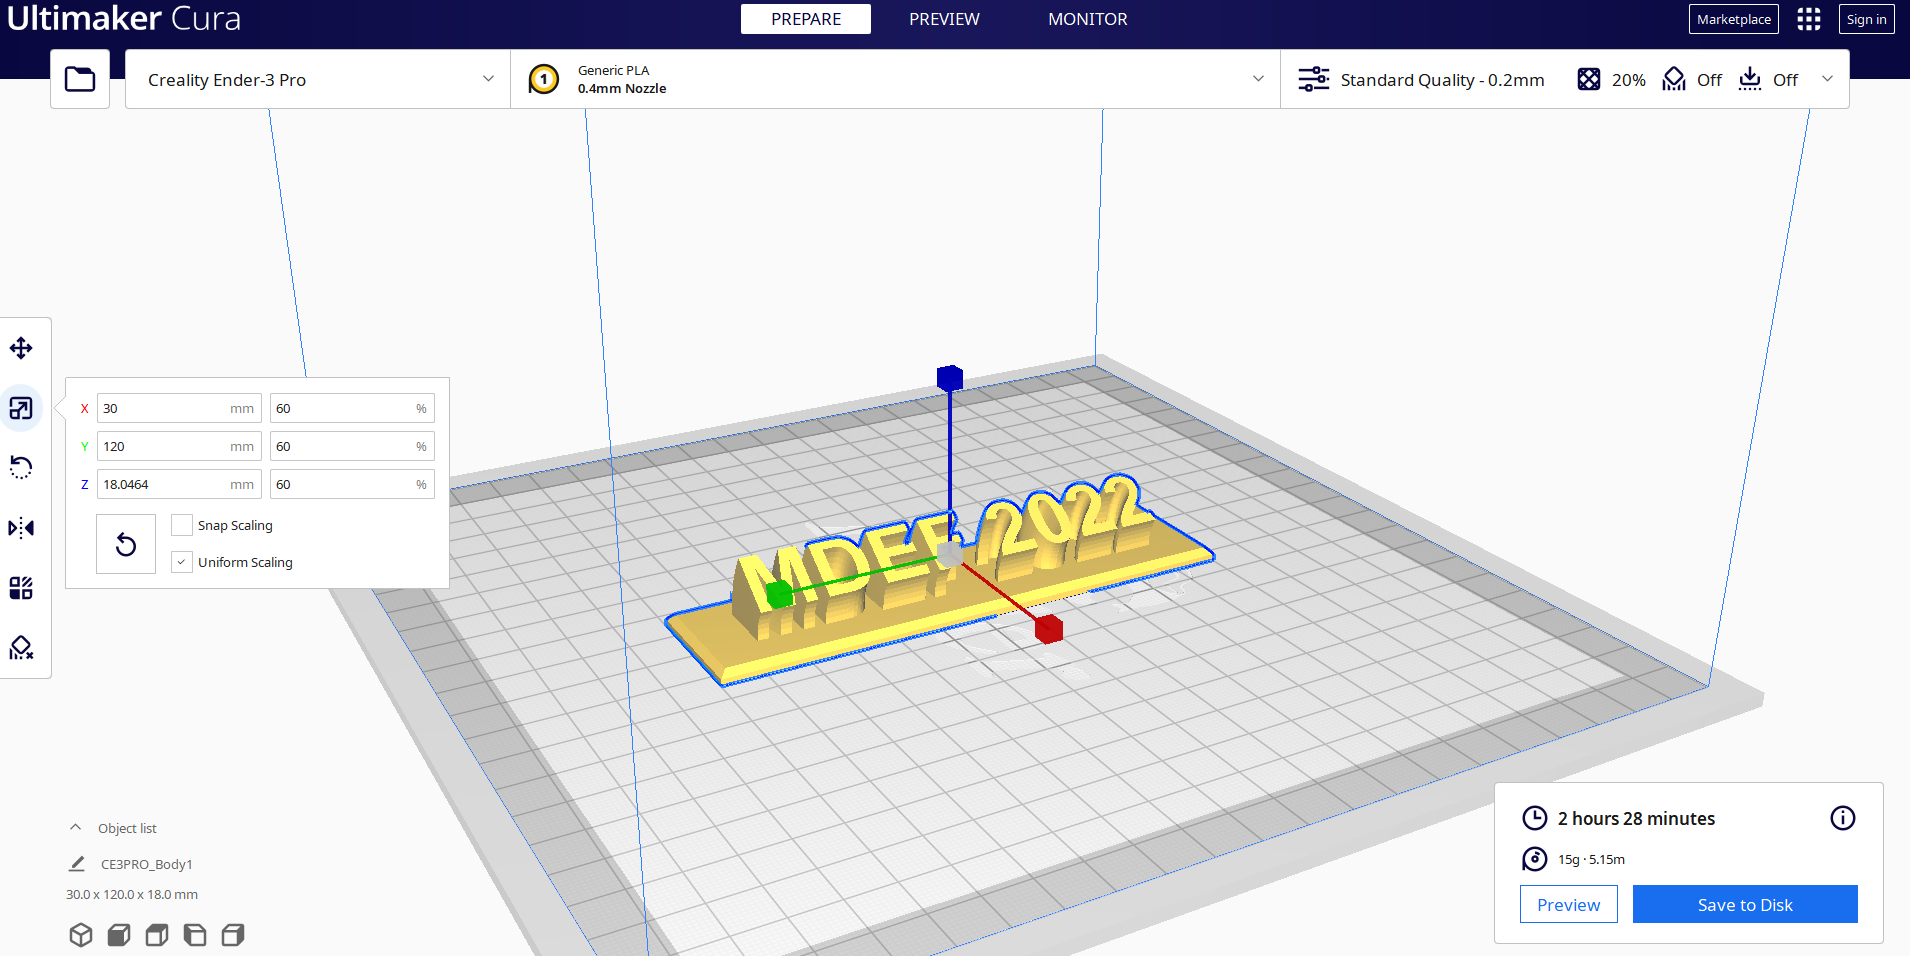
After designing the nameplate using paths, sweeps, and chamfers, I saved the file as an .stl and opened Cura Ultramaker to slice the design and transform the .stl file into a G code that the printer could read.
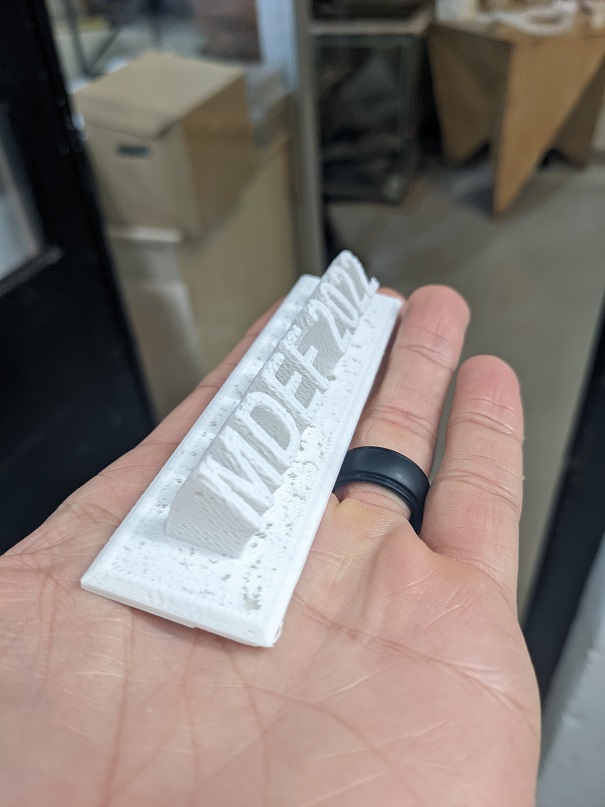
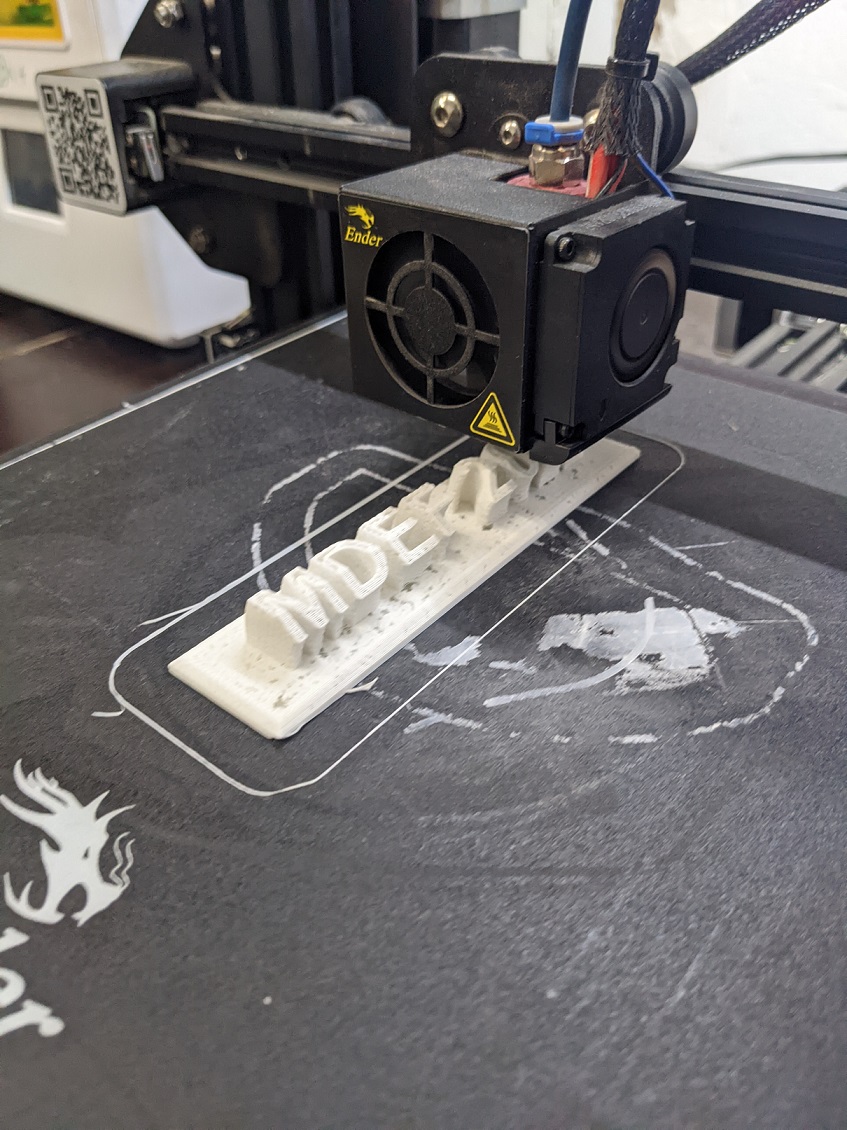
Printing
The printing took a little over 2 hours. There was an unidentified issue with the printer I used that wouldn't give a nice finished touch but it did not hurt the resistance of the print.