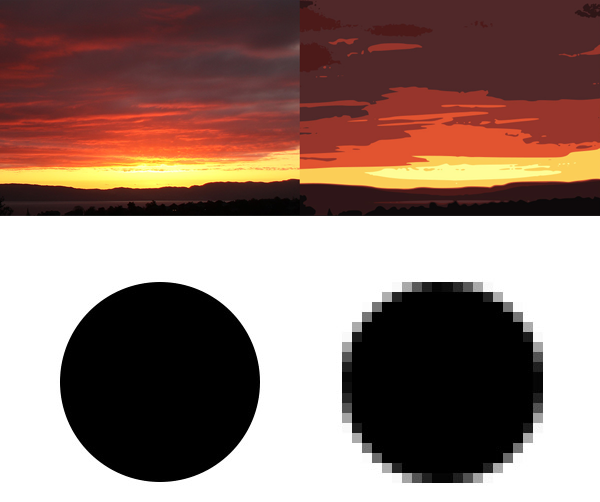
Vectors vs Pixels
Vector images are fantastic for logos, graphics, and other design elements. Their main attribute is that you can scale them infinitely, the same logo could be on a little soft drink can as well as on a billboard and it will never lose quality and become pixelated. Raster images are better for camera images. Camera images tend to have a lot of colour and colour transitions to show detail, raster images allow for rich and complex multi-coloured visuals that create smooth gradients.
A Vector is the geometric description of an image
Vector pros:
- It enlarges the images without limits without loss of quality
- You can work with less powerful computers
- Very light compared to pixel file formats
- Allows to easily edit and change elements
- Increased amount of processing by the computer
- Does not allow the complex gradient as photography
- Does not store textures
A pixel is the smallest unit of bitmap images, which are also called raster images or bitmaps. Each pixel is made up of a RGB sub-pixels
Pixels pros:
- It allows you to store complex textures and gradients
- Multiple formats with a variety of compression
- Processing requires less processor load
- Stores textures as large amounts of ram needed
- Takes up a lot of memory, because you have to save each value individually
- Not allowing large enlargements without loss of quality is determined by resolution and pixel density

Nurbs vs Meshes
Unlike pixels and vectors, I had a very vague idea of what a mesh was and an even more obscure idea of what nurbs are. They can help you understand the various ways of 3D modelling and how to achieve ever more complex shapes.
Mesh/Nurbs comparison:
Mesh:
- Modeling with polygons is a much simpler process. Expanding this polygon modeling is much easier to manipulate and chhange, again making it easier to build meshes.
- It is only possible to UV unwrap a MESH object
- If it’s a model that needs texturing, it’s better to use a polygon mesh. That way you have the ability to adjust how it is projected onto the mesh.
Nurbs:
- Nurbs objects are also always separate from each other, making it difficult to string them together for a model.
- Due to its perfect calculations of curvature and position, this means that you will never see the seams between them. But it's still a limitation in your workflow. If you want to animate a NURBS object, you'll need to convert it to a polygon mesh first so you can weld the joints so they don't come apart.
3D Modelling Assignment
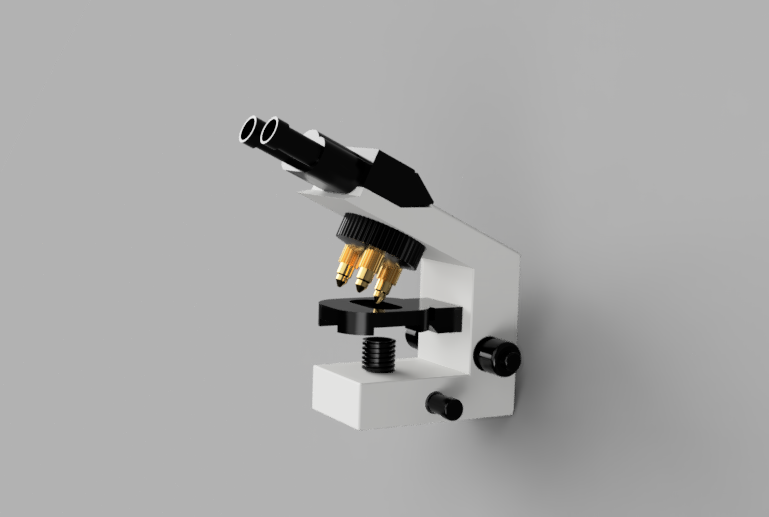
I already had some experience with 3D Modelling software, particularly during quarantine when as a game I decided to model the furniture around my house. It had been a while since I last opened any of the modelling programs so I was feeling a little rusty. For this challenge, we were instructed to create a 3D model in relation to our research project. My research project has to do with microorganisms and their chemical reactions, something that requires a microscope to observe. For this reason, I thought it would be practical to design and construct a microscope.
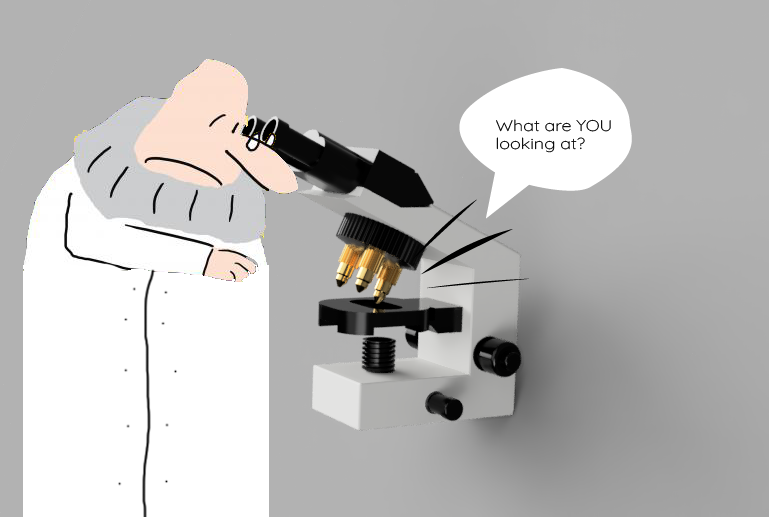
For our second assignment, we were to grab the renderised image, and include some rastered images and vector elements to create a poster. In this case, the bacteria being observed doesn't like the intrusion of the nosey scientist, go look at your own kind!
For this design, I used parametric measurements with joints and I modelled it off the image of a microscope I found on the web. It's a traditional microscope with two eyepieces, head, arm, base, illumination, slider, and adjustment pieces.
2D Contexting
The scientist is drawn in rasterised, pixelated form and the speech bubble as well as the text are vectors made in illustrator.